"Why in the world did you pick this name for your blog?" ...so glad you asked...

Wednesday, December 22, 2010

Early Christmas

Our little family had it's own little Christmas this evening with the opening of a few presents in the living room next to the lit tree with the fire blazing. It was sweet and special.


I have already been gifted a rotary cutter and self-healing mat, a pair of Ann Taylor LOFT jeans, a mani/pedi and 2 yards of fabric with which to make the cover bag from Amy Butler's new book, Style Stitches.  My hubby is generous, no?
I also put 4 books on my Amazon wish list for him to get me, all sewing related, of course.  Tonight, there were three books under my tree, which is fine with me.  I could hardly remember what books I picked, except for Style Stitches.  I've already grabbed a button for the sew-along there on my side bar (I'm participating at JemJam and at My Crafty Crap) and, as I said, picked and purchased some beautiful Heather Bailey Pop Garden fabric to make my Cosmo bag.
We opened presents.

Book number one: Little Green Dresses by Tina Sparkles (is that her real name!?)
It's all about repurposing.  Using what you have in your closet or can find at thrift stores, drafting your own patterns according to your measurements and creating a wardrobe that's personal and fits your personality, figure and wallet.  Good stuff.  I'm excited to really sit down and read this one, because it's got so many good nuggets about pattern drafting and basic sewing skills.  I've already begun doing this on my own as well.

Book number two: Twinkle Sews by Wenlan Chia
This book comes with something like 25 shirt, skirt and dress patterns on a CD and instructions on sewing them including information about types of fabric, origami, draping and lining.  More advanced I think, but there are definitely some projects I could handle right away.

Book number three: Sew Tina! by Tina Givens
This book has some interesting twists on kids clothing design.  A lot of her designs look way oversized and swallow the children in the pictures, in my opinion, but there are some really cute and clever pieces as well as an overnight tote, sleeping bag and some other things that might be useful later on down the road when my little girls get bigger.

Are we missing something here??
Starts with an "s"...
Woopsy, my hubby didn't know that there was one book I wanted more than the others.  My fault.  I just gave 4 to choose from.
No worries though, it will be ordered and I WILL be starting my Cosmo bag come January.
I wanted to flip through it's beautiful pages tonight, but good things are worth waiting for.  :)

S

Monday, December 20, 2010

Continued Home Tour

Let's start in the kitchen... Notice the William Sonoma Peppermint Snow soap.  That's a necessity.


Remember the pumpkin I had here for Fall?  Hobby Lobby again had the perfect neutral accessory for my tableau that changes with the seasons... and it was half off!


Here's a quick pic of the easy neighbor gift we gave this year.  This kind of thing is definitely taking advantage of "it's the thought that counts."  A little happy, a sweet note, that's all you need.


This Christmas cheer all over the fridge is a first at our house.  My oldest daughter started preeschool and now I feel like a "real" mom.  I have a carpool line sticker on my van and preschool art on my fridge.  the true tests.


Now a peek into the sunroom.  That card holding tree is the only Christmas decor in here.  I told you I didn't really have anything left after decorating the living room.  I wasn't kidding.
And, yes, we have more than 4 friends.  

 and here's the dog.


Since I didn't have any more decorations, I had to make some.  This is a $3 styrofoam wreath from (where else?) Hobby Lobby with some scrap Christmas fabric stuffed onto it with a pointy object.


Really the only other place in the house that looks Christmasy is my youngest daughter's room.  This cute pre-lit tree was given to us by my very fashionable cousin who gave me the idea for the bows.  The moose tree topper was my own idea.  See, that's what you get with an original idea from me... not too much.


Just a touch of cheer on the bookshelf, made by my woodworking daddy. 


The rest of what we had went here.  Colorful mini nutcrackers, a Christmas angel bear and the last silver star.


I'm hearing the Wonder Pets singing "Be happy with what you have..." on TV as I write this and that is the theme of our existence right now.  We're not really living the theme, but it keeps bugging us, there in the background.  In the future, we'll have more and better, but I don't want that to keep me from enjoying the small and lovely we have now.
Thanks for letting me take you on a little tour.  Now I must continue to go about cleaning up all the parts of the house that didn't make it into the photos.  :)

S

Thursday, December 16, 2010

Poinsettia Pillow

After having so much fun making the gathered clutch from Noodleheads tutorial list, I have taken the bull by the horns and decided I will not merely oooooh and aaaaah at tutorials and bookmark them to do later.  If at all possible, I will do them immediately and live my crafting life to the fullest.  It's not even January and I'm already making resolutions!

So here we go! Just today, I saw this tutorial here at Crafterhours.  I was salivating as I scrolled down, hoping against hope that it wouldn't be to costly or time consuming to recreate the Pottery Barn poinsettia pillow.  I myself had seen that very pillow and wished to buy it while at Pottery Barn in Atlanta. ...no PB here in Mississippi... :(
Long story short, I did it.
Yesssss!  High five!  I sooooo smashed the Pottery Barn pillow and even added my own twist with a tie closure.


All those pillow covers made by me.  Isn't that amazing!  I'm amazed.  This is not pride here people, it's amazement, I'm telling you.  For realz.

I have three more pillows from our old couches that need covering and I will also need to make two more covers to replace the poinsettia one and the other blue and white Christmas one in the pic.  I'll be REALLY good at this by about February or so.

Update:  The lovely ladies at Crafterhours featured my pillow in their PB knock-off roundup!  Click here to see!

S

Wednesday, December 15, 2010

A Christmas Tour

Disclaimer: this tour is much better looking in photos than it would be in real life.  I have conveniently moved things out of the way or cropped things out of the photo so as to give the best impression and the prettiest picture.  Honesty is the best policy.

L
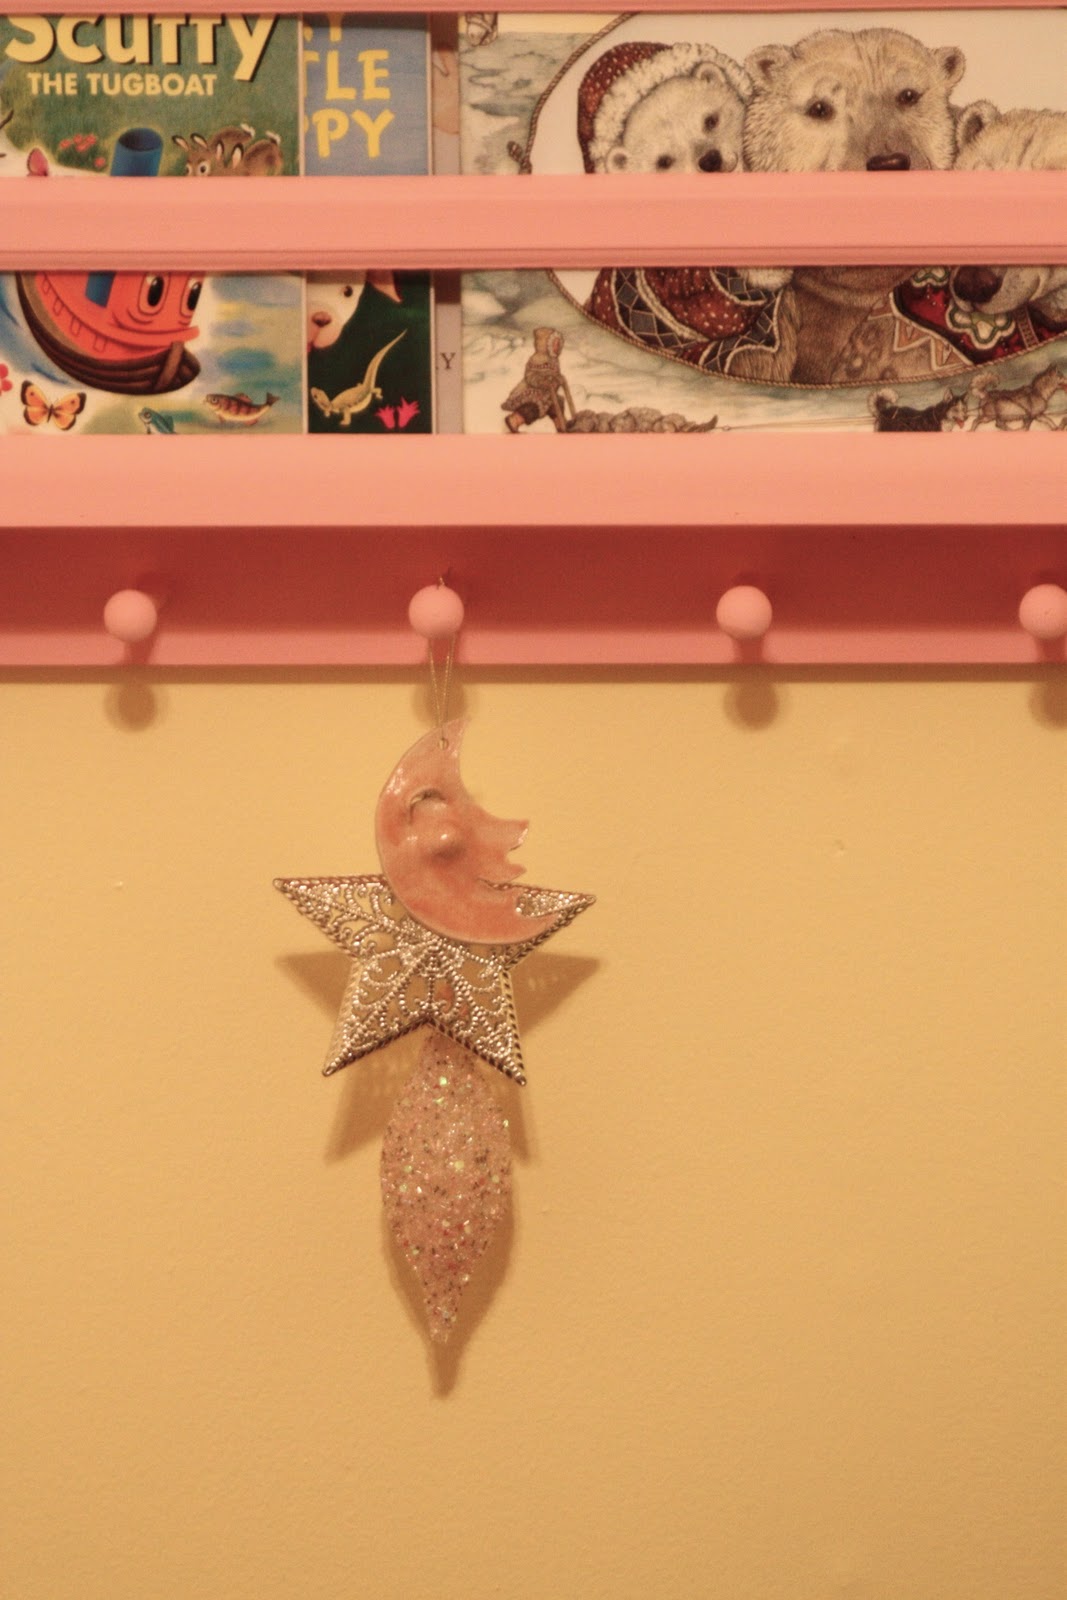
et's begin in the dining room.  We have a simple brass chandelier in the new house and I thought it would be fun to dress it up for Christmas.  I used the garland that was on our tree last year and some snowflake ornaments to give it some holiday cheer.


That's a little wreath-like thing on the china cabinet drawer pulls that is actually meant to go at the base of a pillar candle.  Almost all of my decorations are hand-me-downs from my mom and she had a ton of these.


Now on to the main event!  The formal living room is the first room you walk into from the front door and it has the huge windows that face the street so it needed the most attention. This is how I have adorned my Grandma's Acrosonic upright.  It was the piano my mom learned on and I often played on it when we went to se my grandparents for Christmas.  The little nest for my bluebird is another candle wreath.


Here is the other end of the piano.  My Grandma had some crafter in her as well.  She made that lovely tree from what is now vintage costume jewelry and beads.  She made them as gifts.  I have one.  My mom and dad have one and I'm sure there are other families special to my grandma that also received one.


Here's what my one-year-old was doing while I photographed.  There were toys and books in this cube
and she was grunting and standing on her tippy toes to try and reach every last one and take it out.


Here's a close up of the beaded tree. Nice, right?


Here's the left side of my mantle.  I already posted a picture of my mantle a few posts back.  It's changed a tad, so I thought I'd just show the changes.  I moved the framed Phillipians free printable off and gave the NOEL art a place to shine.  I moved one of our vintage cameras down to add a little interest to the "set" for our family photo and just left it because I liked it.


This is the built-in to the left of the mantle.  That kneeling Santa also came from my parent's.

And to the right of the fireplace.  More orange poinsettas, a little Christmas box and a banner.  ho hum.

Now to the tree.  Hubby picks it every year.  This year we got new lights, and the mesh ribbon that was really last year's phenomenon, but I like it and that's what counts. (it also counts that it was only $5)


Sorry about the camera shake.  My camera is apparently a light hog.  It looked plenty bright in there to me.  Oh well.


the blurry tree skirt came from Target last year.


I was trying for simple and elegant.  I only used red and green balls and whatever personal ornaments we have (gifts and such).

Are you done Mom?

I suppose so, for now.  :)


S

Monday, December 13, 2010

Giveaway!!! (closed)

Oh my! What fun!


Sew Mama Sew's annual Giveaway Day has arrived!  This is my first year participating and I finally feel like I can sew well enough to contribute, so here goes:

I am giving one random commenter a gathered zipper clutch made from Joel Dewberry fabric.  It's that lovely turquoise and rust colored one below.

These are made by me using Noodlehead's Gathered Clutch tutorial and are my staple Christmas gift this year.  I would encourage you to try one yourself as they are a very rewarding project with relatively easy steps to follow.  To see how crazy about them I am and for a mini review of the tutorial, look here.

Now, how to win one!
Comment and tell me your fave project or tutorial and give me a link, if you have one, to where I can find it online.  If you don't have a fave project, just tell me something about yourself.

I NEED A WAY TO CONTACT YOU, SO LEAVE AN EMAIL ADDRESS IF YOU DON'T HAVE A PROFILE OR BLOG.

I'll be picking a random comment winner using random.org
and BONUS!  
I'll be giving the first commenter a clutch as well!  (because the very first comment always gets the shaft but someone has to start it)

Good luck and have fun entering all the giveaways through the 17th!
S

Saturday, December 11, 2010

MollyBlossom

There it is, the name of my girl's clothing line.

That's not to say that I actually have a girl's clothing line. But,

if I did, that would be the name of it.

And it would be described as: romantic florals minus the boring. Beautiful basics, beautifully crafted with details that compliment the beauty of the little girl who wears them without overtaking her with flounces and frills.
Each piece will be limited, only a few of a kind, but all the pieces for a season will coordinate. I don't want to be tied down to making loads and loads of exactly the same dress or pant. A different fabric here, a different trim there...

There will be just 4-5 different types of clothing. I'm thinking a dress, a romper, clamdiggers and a shirt of some kind. A pinafore type thing. Maybe.


I'm working on the first dress right now.

I don't know how sizes work. I don't know how labels work. I don't know how selling through a store works.

I'll let you know what happens.

S

Tuesday, December 7, 2010

Makin' a List . . .

Since I was so pleased with the results of the Gathered Clutch tutorial, I thought it was high time that I picked out some others to finally try. I really do have a huge list of bookmarks just sitting on my laptop, waiting patiently for some love. I just let them sit there.
No longer.
Here is a VIP (very important project) list that I plan to try sooner rather than later.

The ruffled bubble skirt
petal sleeves and tulip pocket dress
reversible baby bonnet
beginner's bias tape bag
Charlotte Russe skirt
1-hour assymetrical knit dress

And if you are making the kind of list you thought this post might be about, here's a place to find a free printable to help you stay organized while you shop for or craft presents.

S

Friday, December 3, 2010

Gathered Clutch

Sew Mama Sew has a wonderful Handmade Christmas Gift list that I was perusing a couple of days ago. I came across a tutorial I had already saved in my bookmarks here on my laptop (along with 50 gabillion others) and it struck me that this was the time. The time now is. The gathered clutch's time has come.
I was inspired and I have two preschool teachers that are needing gifts, so I set out to make some pouches with zippers.
I have never tried sewing a zipper on anything and, frankly, have steered clear of any patterns that use them. I am less intimidated by tutorials than of paper patterns, so when I rediscovered this one, I was game to finally try a zipper.
Turns out, the zipper itself wasn't really the thing that tripped me up, but rather the directions regarding sewing the fabric onto it. I don't know if it was just me, or if it really is the instructions, but I sewed the first "sandwich" onto the wrong side of the zipper. (you might see what I mean if you try it out for yourself) I had it face down with the right end facing the right way and I had my fabric facing the right way, but I put it on the bottom edge instead of hiding the zipper completely between the fabric and sewing the top edge.
I even did a similar mistake when sewing on the other side of the clutch. It just wasn't clear to me where everything should go. Now that I've done it correctly a few times, it seems perfectly obvious how it should be done.
That's why it's so hard to write a tutorial or directions for anything for that matter. It's hard to make everything clear to someone who has never seen the finished product and has no hands-on guidance.
All that to say, after plenty of seam-ripping, I was able to finish these.

And now that I have figured them out, I most certainly will be making more. They are so sweet and simple and useful. You can put dividers and pockets inside and use as a wallet. You could use them as a small handbag (as the name implies) for when you just need a couple of essentials. They could hold anything smallish. You could put a bunch of Christmas tags (that you printed for free from here), a couple of colored ink pens and a roll of tape for your Christmas present-wrapping needs. So many possibilities!


PS. a few days have passed and now I'm trying some with embellishments. I also bought some fusible batting to use and much prefer the end result over the light weight interfacing I first began using. I would recommend cutting the batting or fleece a half-inch smaller all around though to make sewing it all together easier.

I'm participating in:

Photobucket


S

Wednesday, December 1, 2010

My Christmas Mantle

T
wo years ago was the first time I bought any decorations for Christmas since my husband and I had been married.  I wanted a themed tree and I chose a spice orange color, pink and white.  So everything I bought, I bought for the tree.  Now I have this new, rather large house and nothing really with which to decorate it.  Blogs to the rescue!  I saw a lovely blog recently with some perfect ideas for decorating with Christmas balls.  I'm sure it's been done before and I'd seen it before, but this is the year I needed to be reminded.  I've got plenty of glass vases of varying types, a couple of candlesticks, the balls intended for the tree and a couple other odds and ends and I'm good to go!  at least in the living room...


 And on the shelf to the left of the mantle...  a tiny bit of cheer.


Now the only problems I have are what to put on the tree
and what to decorate the rest of the house with. 

I linked up at
The Lettered Cottage

There are, like, a bazillion beautiful mantles over there!!

S