Wow, you guys! Just wow. After my recent tear-inducing faliure trying to make coats for my girls for Easter, I was really nervous about the pattern I chose about a month ago for my guest spot on the Pattern Revolution blog.
I was honored to be invited to do a post in the Runway Deconstructed theme. My partner, Teronia, and I put our heads together and chose the polka dot as our fave runway trend. Then it was time to choose a pattern.
I bet you've seen some of the many examples of
Papercut Patterns Rigel Bombers out there, but if not, take a look
here,
here, and
here. There are so many more pretty ones out there and I really wanted to try my hand at it.
Papercut Patterns graciously donated the Rigel pattern when Robin of Pattern Revolution asked them if she could feature it on the blog.
So here is how it looked when I opened my package all the way from Australia.
That folded paper is like a brown paper bag and not the lightweight tissue you often find in paper patterns. I have mixed feelings about that because tissue is easier for me to pin to fabrics and plays nicer with slippery fabrics, but this brown paper is heartier and will last through many makes.
A look inside...
And once I got all my pattern pieces cut out...
If you did not come here from the Pattern Revolution blog, you can read more about my fabric choice and see photos of the finished jacket in the
Runway Deconstructed post.
If you have come to The Pretty Pickle from Pattern Revolution, you can read on for some behind-the-scenes details I didn't have room to share over there.
Once I cut out my fabric, which included cutting pieces for a lining which I wasn't sure I was going to be brave enough to tackle, I started going through the steps in my folded booklet.
(Quick side note: The only modification I made when cutting pieces was to cut a few inches extra length on the sleeves after reading several reviews that they ran short.)
I struggled a bit with piecing the sleeves together, mainly because I had neglected to clip my edges to mark the pieces properly according to the pattern. When you have three different sized triangles in front of you and have to put them together like a puzzle to form a new shape, it's a little hard without the pattern markings.
I also wanted to make sure I did two of the three triangles with the fabric wrong-side out to play with the shiny and dull sides of the fabric and highlight the shapes of the pieces. You can see how it works a bit in this picture.
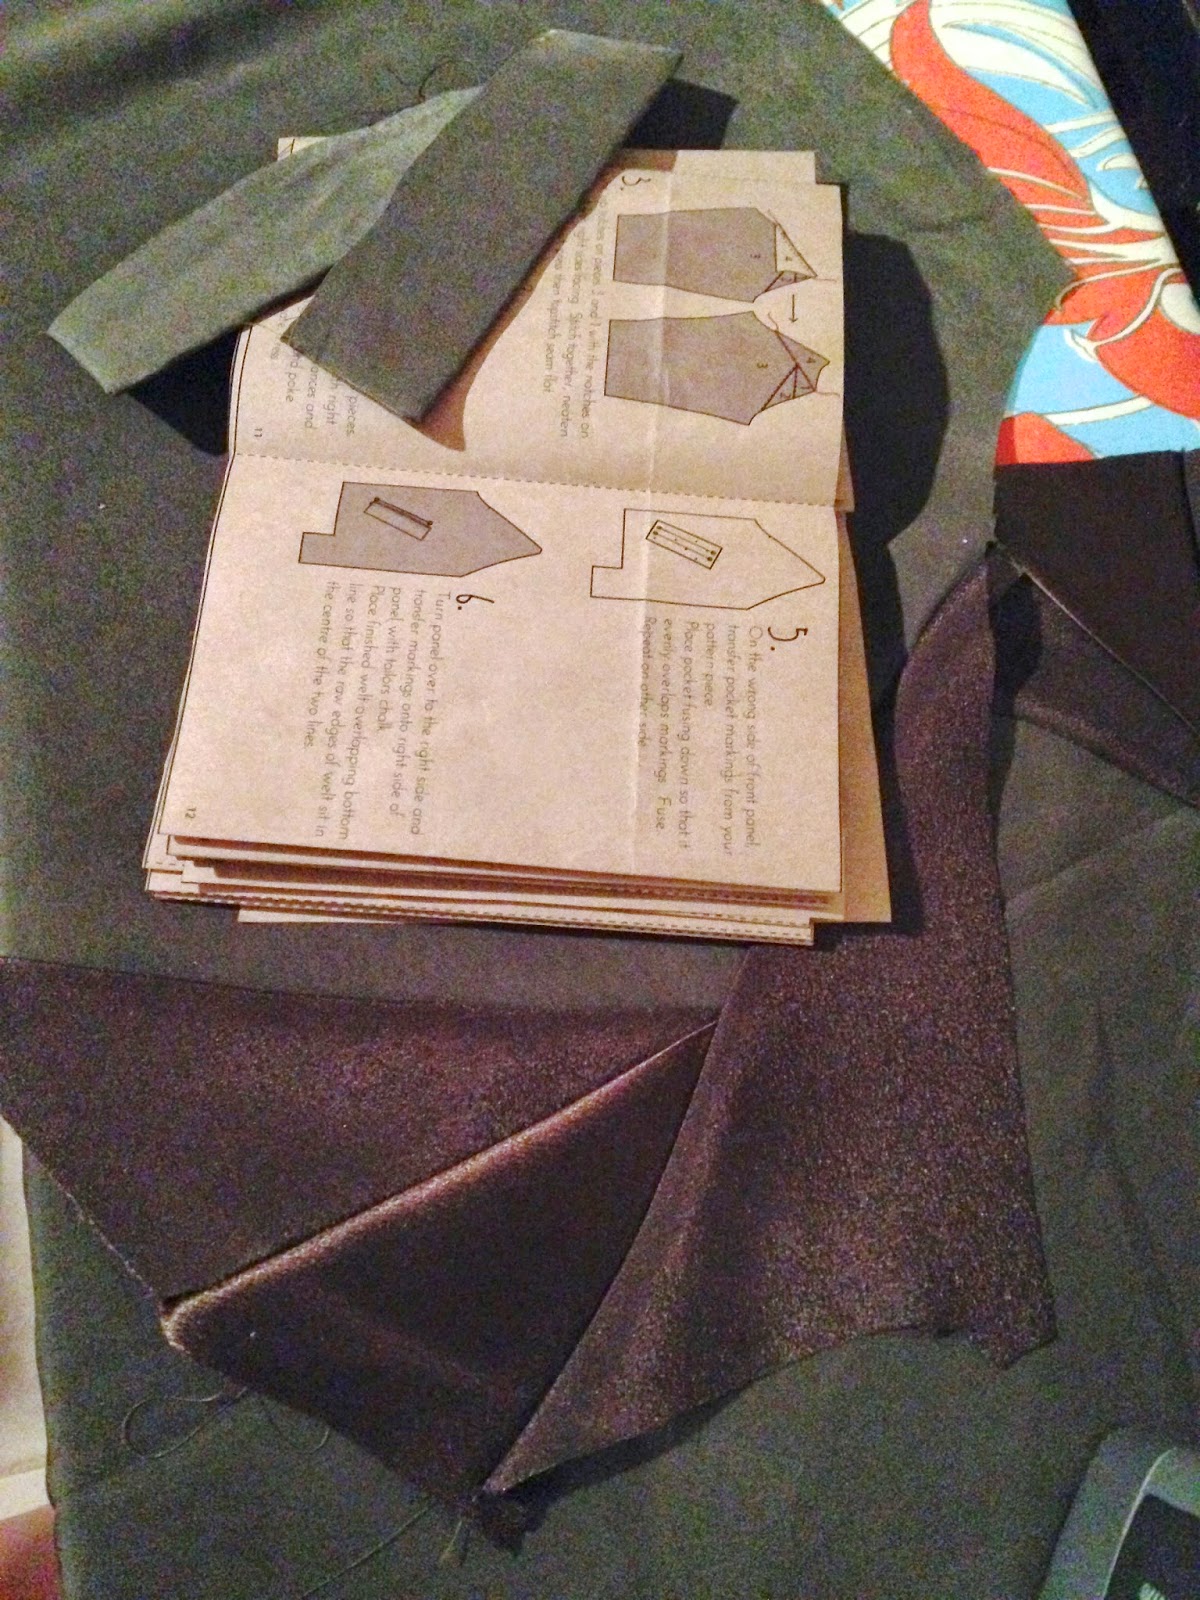
So I got to step 5, the welt pockets, and then I chickened out.
I slept on it and came back with new determination and, as it turns out, there wasn't anything to be nervous about after all. I felt like the instructions were not too wordy, but very clear and the diagrams are very helpful and clear as well.
I had to take a picture in case I ruined it with the zipper and the attempt at lining. Nervous again.
But then I did it and it was a little challenging to work with a seperating zipper, but it just took some extra time to line it up and some extra pins and it was ok!
I have to give credit to my four-year old for these pictures. My camera remote is being finicky and likes to be at a certain place by the camera before it will get the signal. So I set up the camera and then got my girl to stand next next to the camera and push the remote button.
I had the mirror right there so I could check how my jacket was looking before shots if I needed to.
Look 2.
I'm proud of the inside. haha. I keep holding it open.
Thanks for stopping in to see me! It was an honor to be featured at Pattern Revolution and I am so grateful to Papercut Patterns as well for the chance to try the Rigel Bomber. I loved making it and I will love wearing it!






 This Sew Fab Pattern Bundle is only available for one week and will never be available again! You can purchase the bundle from May 5th at 8 a.m. EST through May 13th at 11:59 p.m. EST and there will be no late sales offered. Due to the nature of the sale there are no refunds. The pattern bundle expires six months from the end of the sale, so please download and save your patterns upon receiving them.
 The
The  The #ISEW necklace from